
In this article, we will explore a relatively inexpensive digipeater solution to extend the range of a private WinLink Express network. The growth of our local WinLink Express network has demanded that we extend the range, in at least two directions, for new users to be able to access the Linbpq BBS system that is the host for the system.
After a bit of research, we found that to create a digipeater node we would need the following components:
- A 2 meter capable radio. In our first prototype we used an Icom IC-2100H. In my opinion this is really overkill for this project as we only need a very basic FM transceiver for the radio that emits 25 to 40 watts depending on the distance of the digi from the BBS. We reasoned that with a good antenna, that should be plenty of power. New 2 meter transceivers can be had for around $150.
- A sound card interface for the radio. Our initial prototype uses a Tigertronics Signalink interface. This interface is comparatively expensive at around $125.00.
- A Raspberry Pi 3B + These still cost about $39 new.
- Some free software downloaded from the Internet
- A power supply for the Pi and the radio
- A suitable antenna and coax
- Some miscellaneous cables, etc.
We were successful in getting the prototype system to work properly. The cost of the system, however, was a bit high because we want to be able to expand our network at lower overall cost per node. So we set about to see how we could reduce the cost without reducing the reliability of the system. We surmized that we could reduce the cost by doing three things:
- Use a used commercial radio that can be programmed into the 2 meter ham band instead of a ham radio oriented product from one of the big 3 Japanese manufacturers.
- Use a less expensive sound card interface.
- Use a Pi Zero W instead of a Pi 3 B +.
A second prototype was constructed using the three ideas above. The result of this article (and the others in this series) fully describe this second prototype.
The second prototype consists of:
A Motorola CDM 1250 VHF radio.
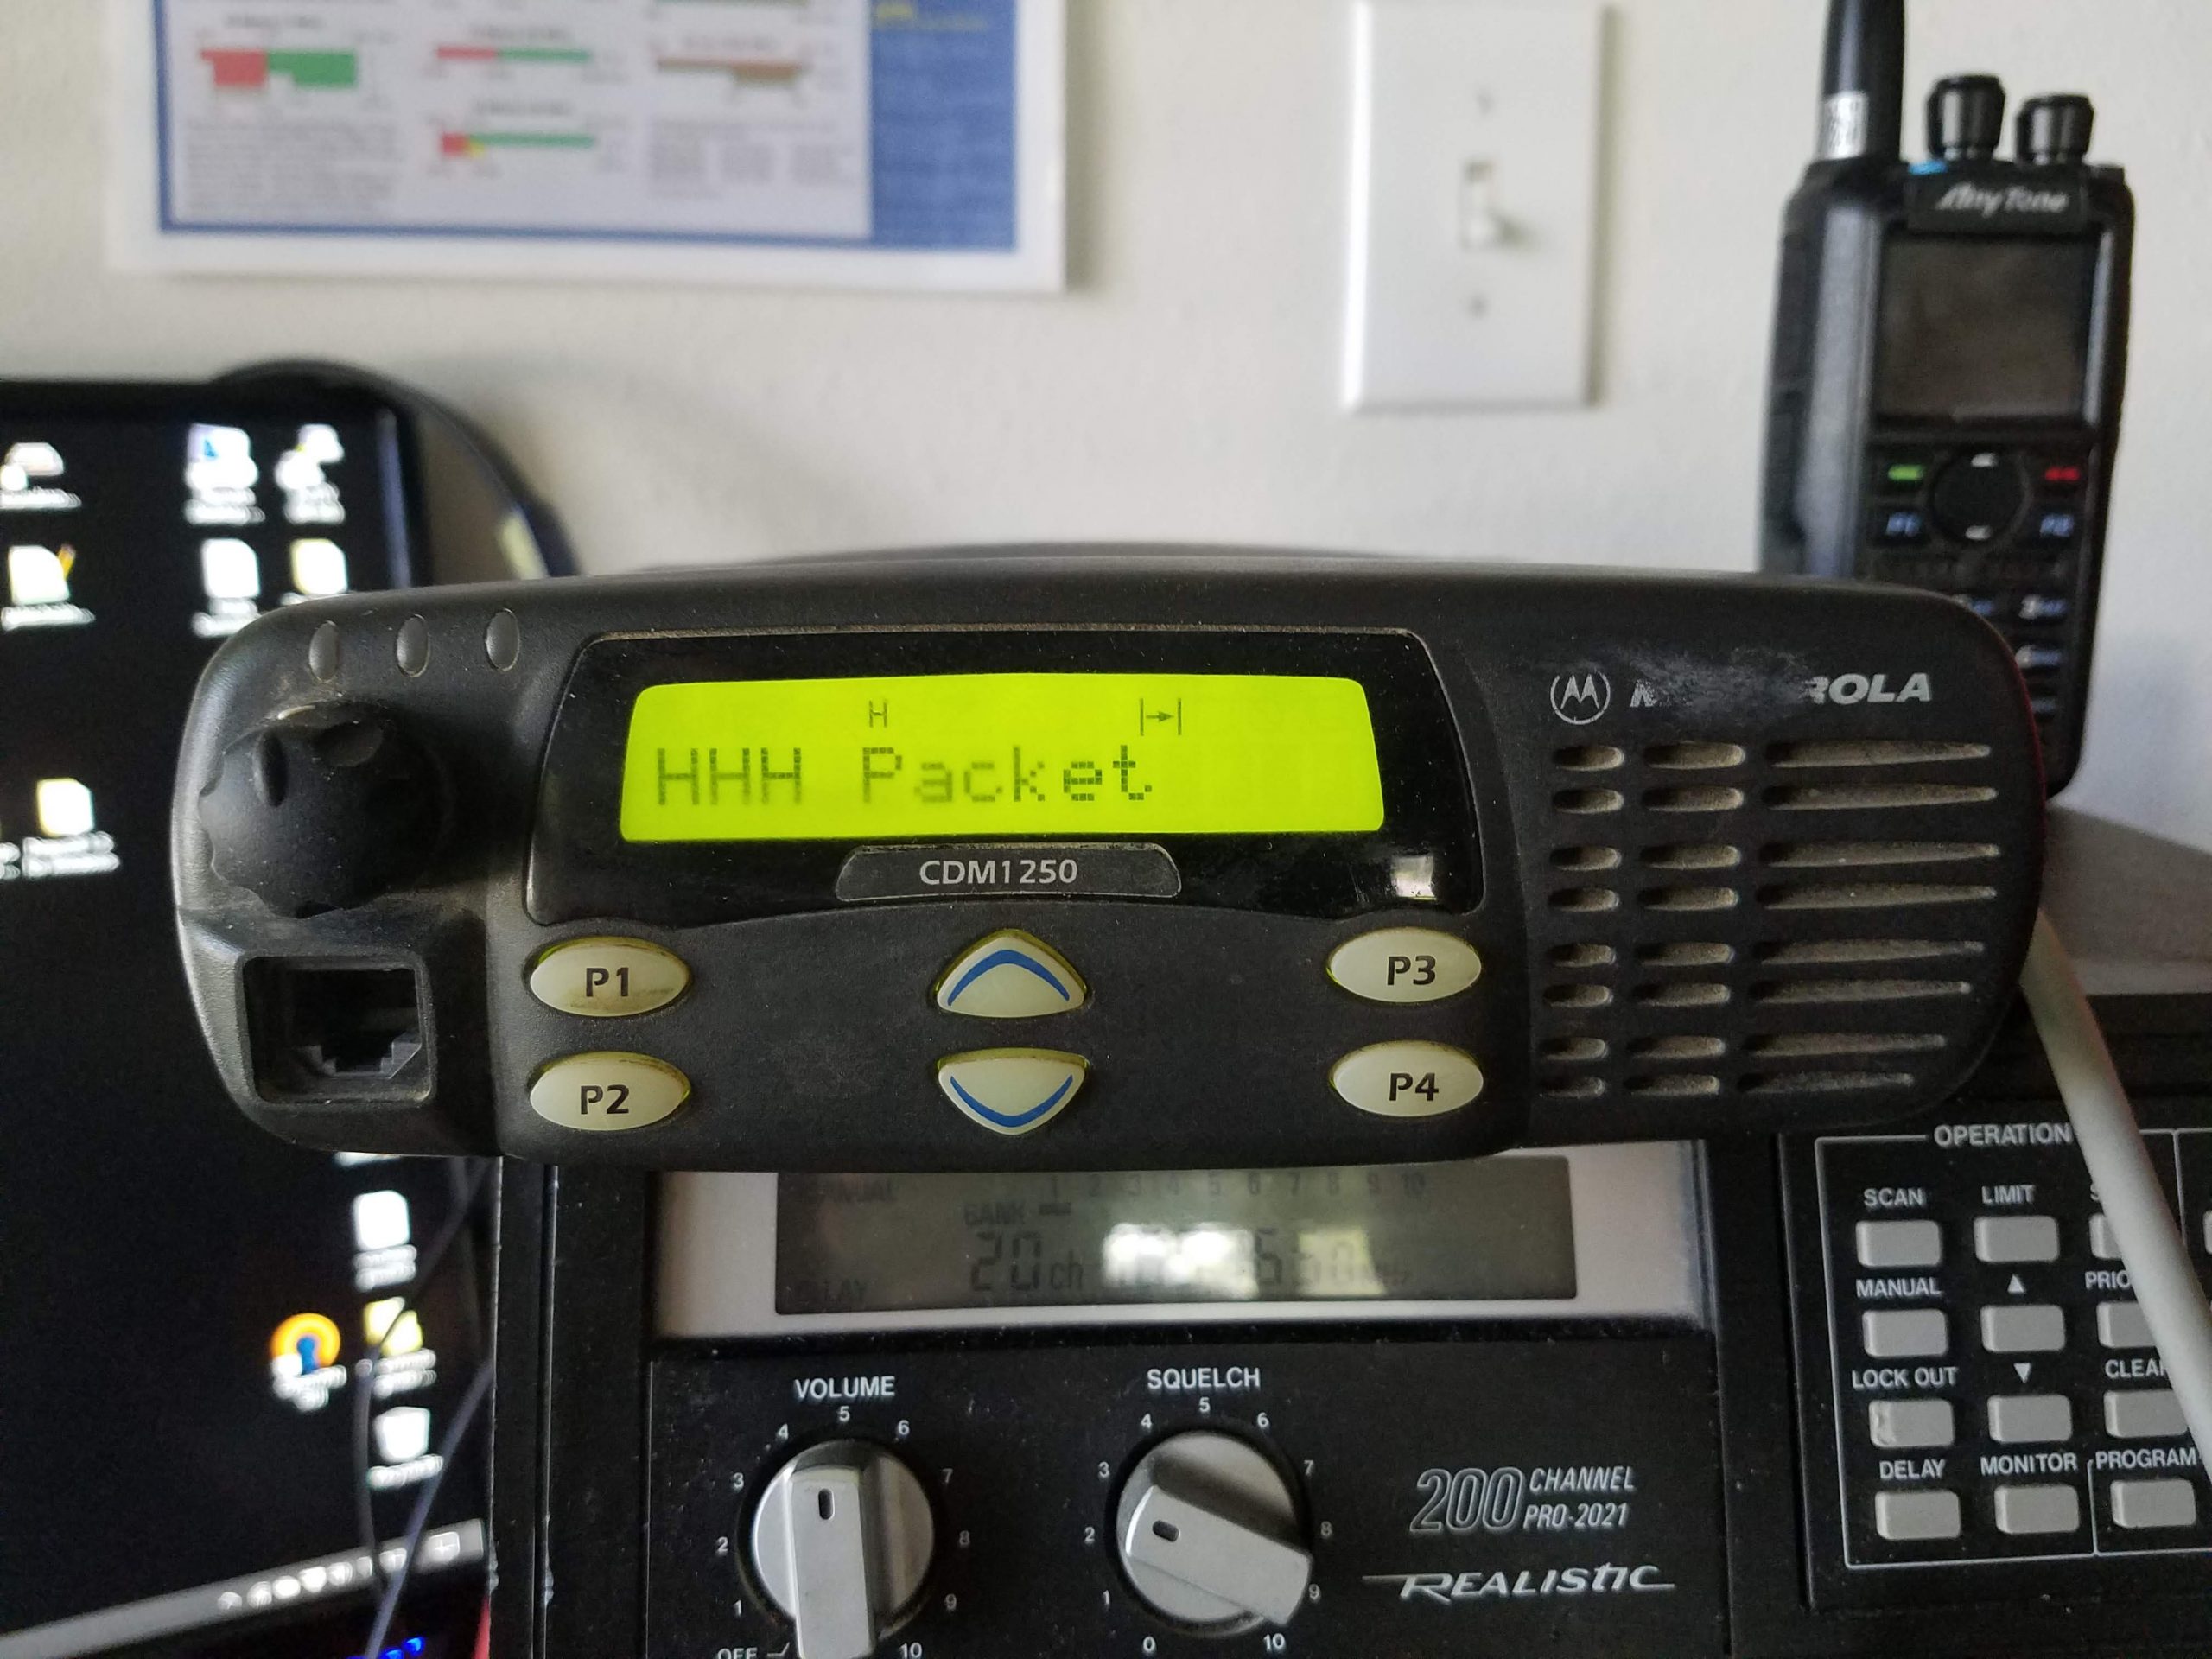
The one I used I had purchased at the Collinsville IL hamfest for $25. Ebay has them too but the prices will be somewhat higher (closer to $100). This radio can be programmed with a USB serial cable and the appropriate programming cable if you can’t find someone to help you with it. (https://www.ebay.com/sch/i.html?_from=R40&_trksid=p2380057.m570.l1312&_nkw=motorola+cdm+vhf&_sacat=0)
A RepeaterBuilder RIM-Maxtrac USB Soundcard
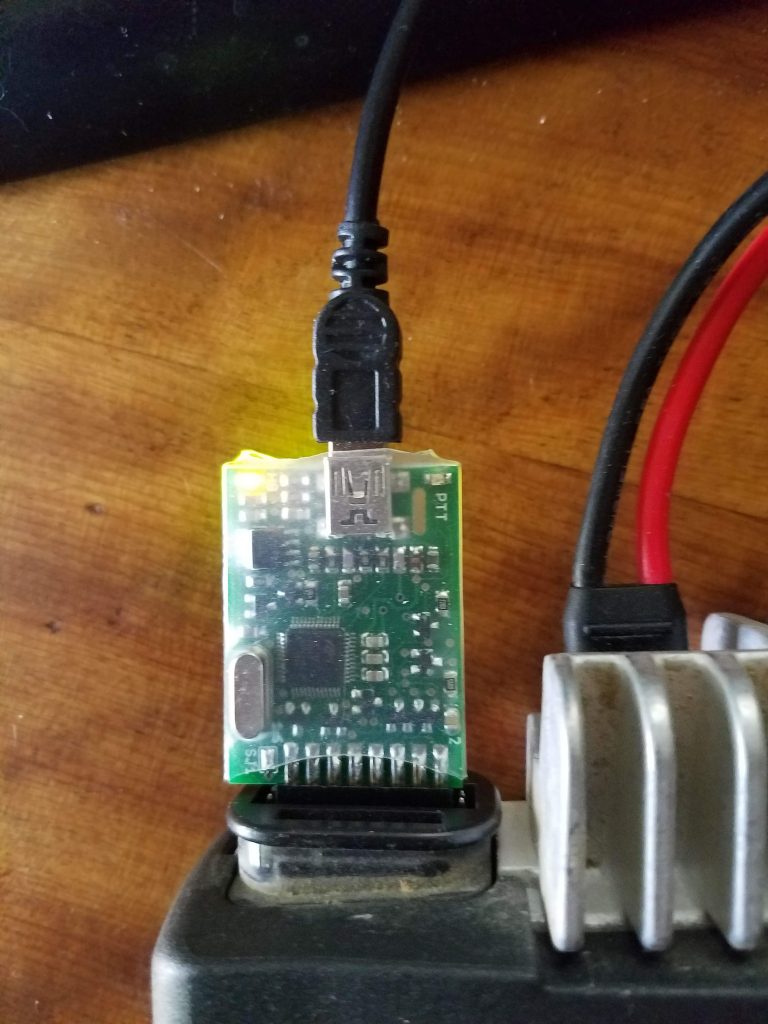
I picked this one because it interfaces directly to the accessory port on the Motorola CDM radio above. I have used multiple of these interfaces and they are well built and reasonably inexpensive, about $50 at the time of this writing. (http://www.repeater-builder.com/products/usb-rim-lite.html)
A Raspberry Pi Zero W with case and memory card.
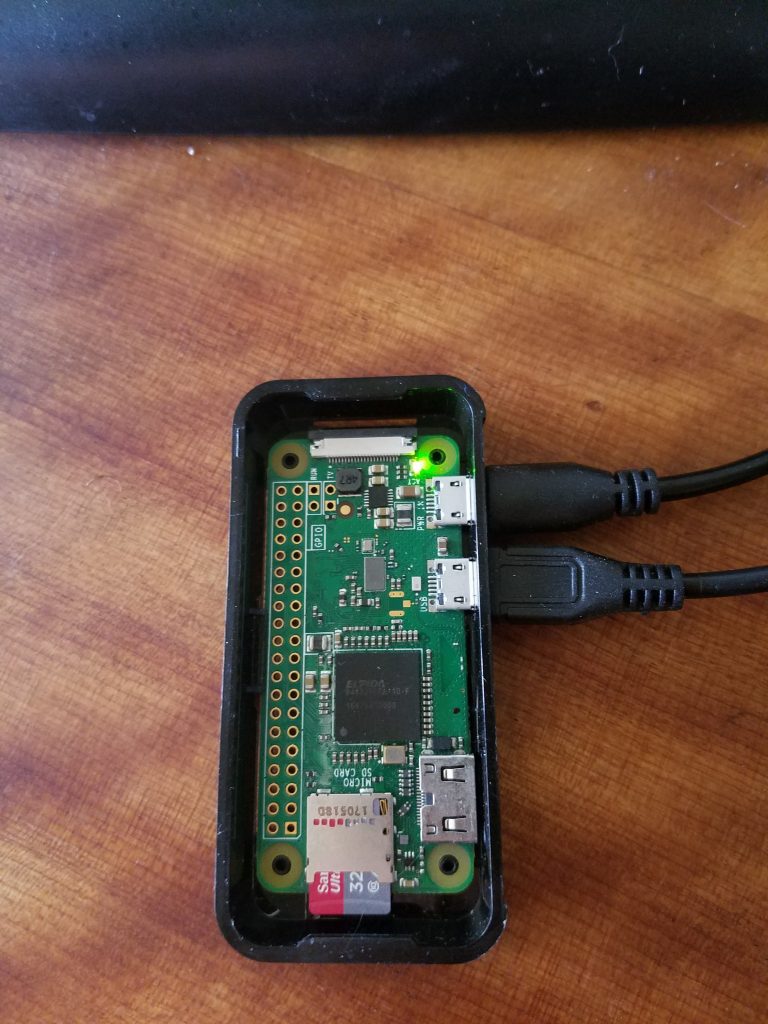
(https://www.adafruit.com/product/3409)
A Power Supply for the Pi Zero W
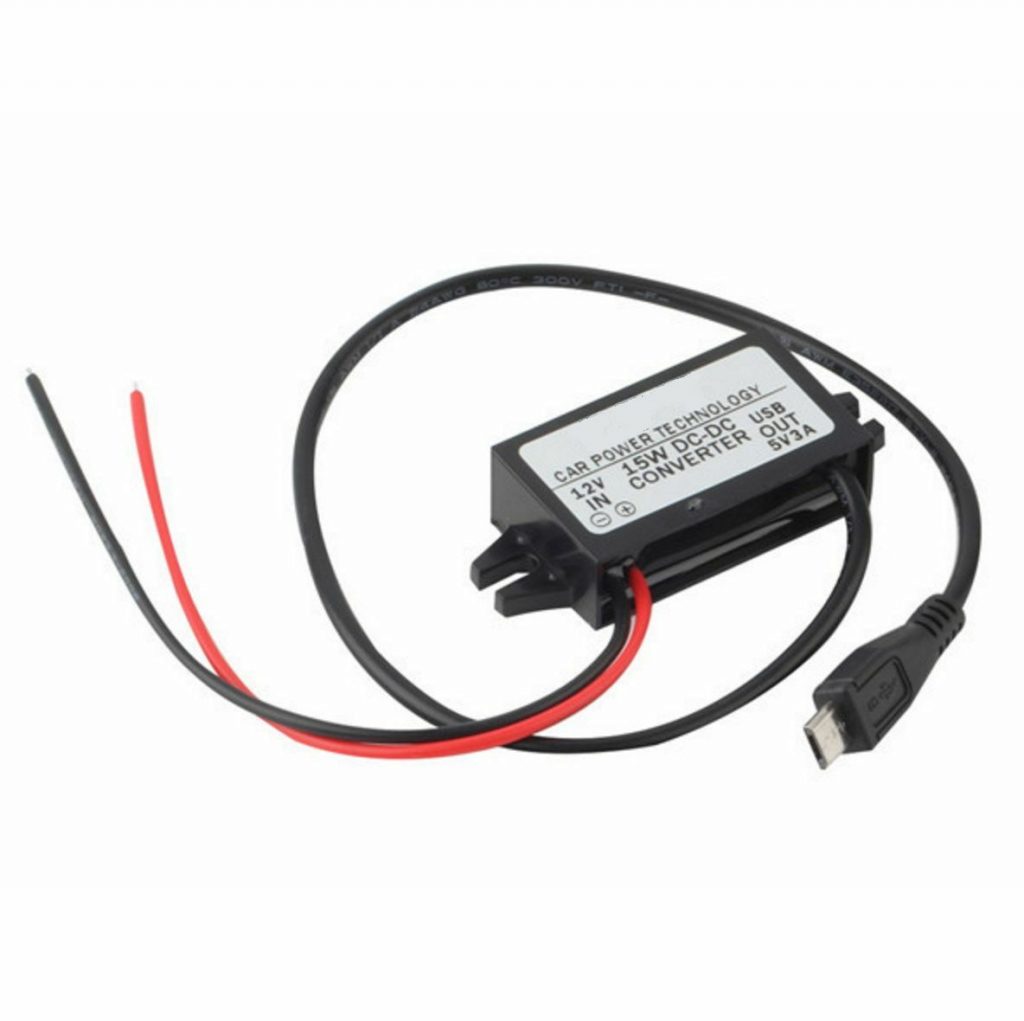
I used a 5 volt wall wart to power the Pi for testing purposes, but the Pi could be powered by a 12 volt to 5 volt converter such as the one pictured above. This would be especially useful since the radio is likely to need a 12 volt power source anyway. (https://www.ebay.com/itm/Car-Charger-DC-Converter-Module-12V-To-5V-3A-15W-with-Micro-USB-Cable/151573577463?hash=item234a7d3ef7:g:lvAAAOSwAuZX5buT)
A Micro USB OTG cable.
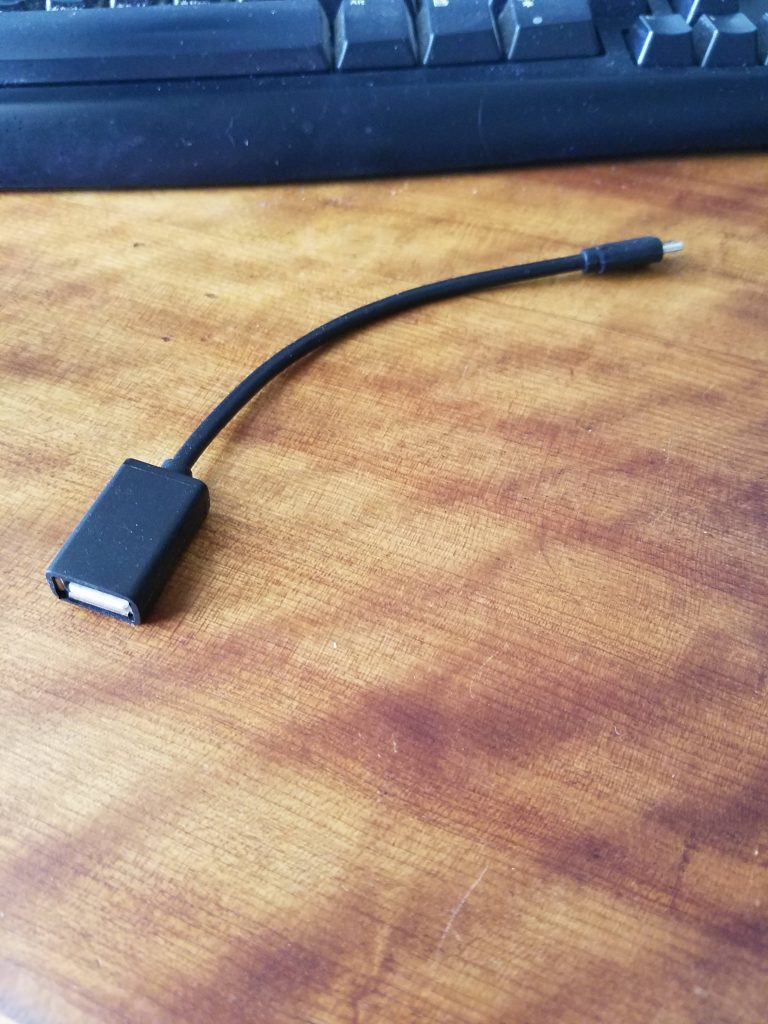
You’ll need this to connect the soundcard to the Pi Zero W. Here’s a link to an example. (https://www.ebay.com/itm/Micro-USB-B-Male-to-USB-2-0-A-Female-OTG-Adapter-Converter-Cable-LG-Samsung-Sony/312836633094?hash=item48d6843206:g:LrAAAOSwmXtdxMvi)
Miscellaneous
Of course I had a 12 volt power supply for the radio, and I used my main station’s dual band antenna for testing.
Project Costs
The total cost of the second prototype system comes out like this: $25 for the radio, $50 for the sound card, $25 for the Pi, $7 for the power adapter and $3 for the OTG cable. Allow another $20 for miscellaneous cables. That brings the total for our second prototype to $130. Granted, you may not be able to buy a Motorola CDM radio for the $25 bargain I got, but even if you had to pay $100 for one, the total cost would still only be $205. That a worthwhile savings over the total cost of about $315 of our first approach. As always, your mileage may vary.
Join us for part two of this series in which we’ll discuss assembly of the Inexpensive Digi and the software that makes it all work!
